
Framy Blog
How to Make App Store Screenshots

Co-founder, Framy
How to make App Store screenshots that get installs: correct sizes, device frames, and a clean PNG export. Free, no watermark, in your browser.
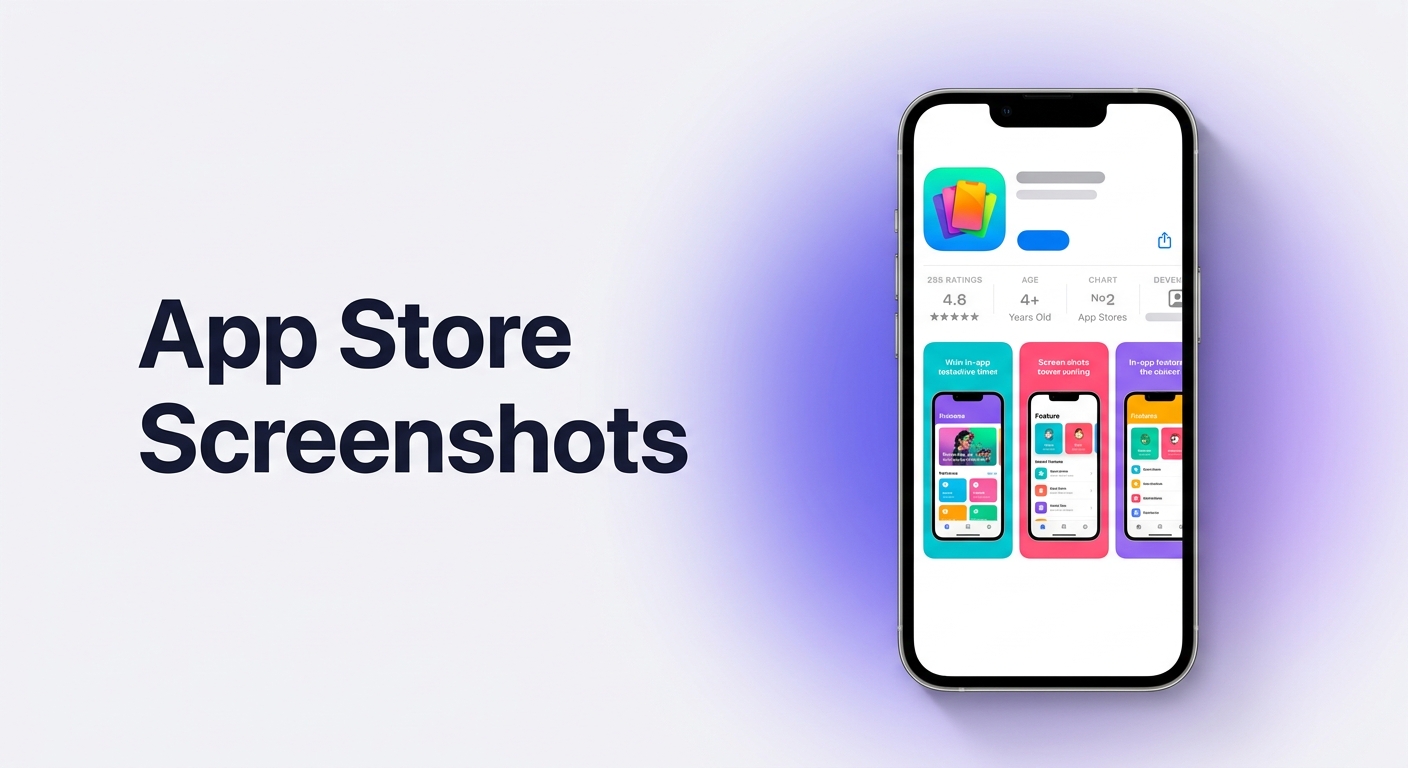
Good App Store screenshots do one job: they show, in a glance, why your app is worth downloading. This guide covers how to make App Store screenshots that look professional, meet Apple's size rules, and export clean without a watermark. You can do the whole thing in a browser.
What Apple actually requires
Apple accepts up to 10 screenshots per device size. The two sets most apps need are the 6.9-inch iPhone display and the 6.5-inch display, and if your app runs on tablets you also add iPad sizes. You do not have to design ten different images for every size. Design one strong set at the largest required resolution, then export the other sizes from the same layout. Always confirm the current pixel requirements in App Store Connect before you submit, because Apple updates them from time to time.
Screenshot vs. framed screenshot
A raw screen capture is allowed, but a framed screenshot reads better on the product page. Putting your screen inside a real iPhone shell makes it obvious this is a phone app, adds polish, and lets you add a short caption above or below the device. That framing step is where most of the visual quality comes from, and it takes a minute.
How to make App Store screenshots
- Capture your best screens on device or in the simulator, at full resolution.
- Open the Framy editor in your browser.
- Upload the first screen as an image.
- Pick the iPhone model that matches your target listing from the 35+ available frames.
- Set the ratio or the exact App Store pixel size you need, and make sure the screen fills the frame edge to edge with no blank margins.
- Export as PNG. Low quality is free forever; for the crisp high-quality export you want on a store page, a bundle unlocks it at $1.99 for 30 exports or $4.99 for 100. There is never a watermark.
- Repeat for each screen, then upload the set in App Store Connect.
For the full walkthrough, specs, and caption tips, see the App Store screenshot generator.
Common mistakes
- Using a bare screen capture when a framed one converts better.
- Tiny UI text that is unreadable at thumbnail size on the store.
- Leaving white margins inside the frame instead of filling the screen.
- Wrong pixel size that gets rejected at upload.
- Front-loading nothing. Your first screenshot should carry the strongest message, since many people only see one.
- Exporting a low-resolution file for a public listing.
Bottom line
Design one strong set at the largest required size, frame each screen in the right iPhone model, keep the text large, and export a clean high-quality PNG. That is the whole recipe. The framing and export are the fast part once your screens are captured.
Next steps
Open the Framy editor and frame your first screenshot now, read the full App Store screenshot generator for sizes and caption ideas, or if your app is a tablet app too, see How to Make an iPad App Store Preview. If you would rather put a video in an iPhone mockup for a preview clip, Framy handles that as well.